Chillin Agent
대화형 비디오 편집 생성, 완전 자율 비디오 편집 에이전트, Cursor로 코딩하듯 비디오 편집
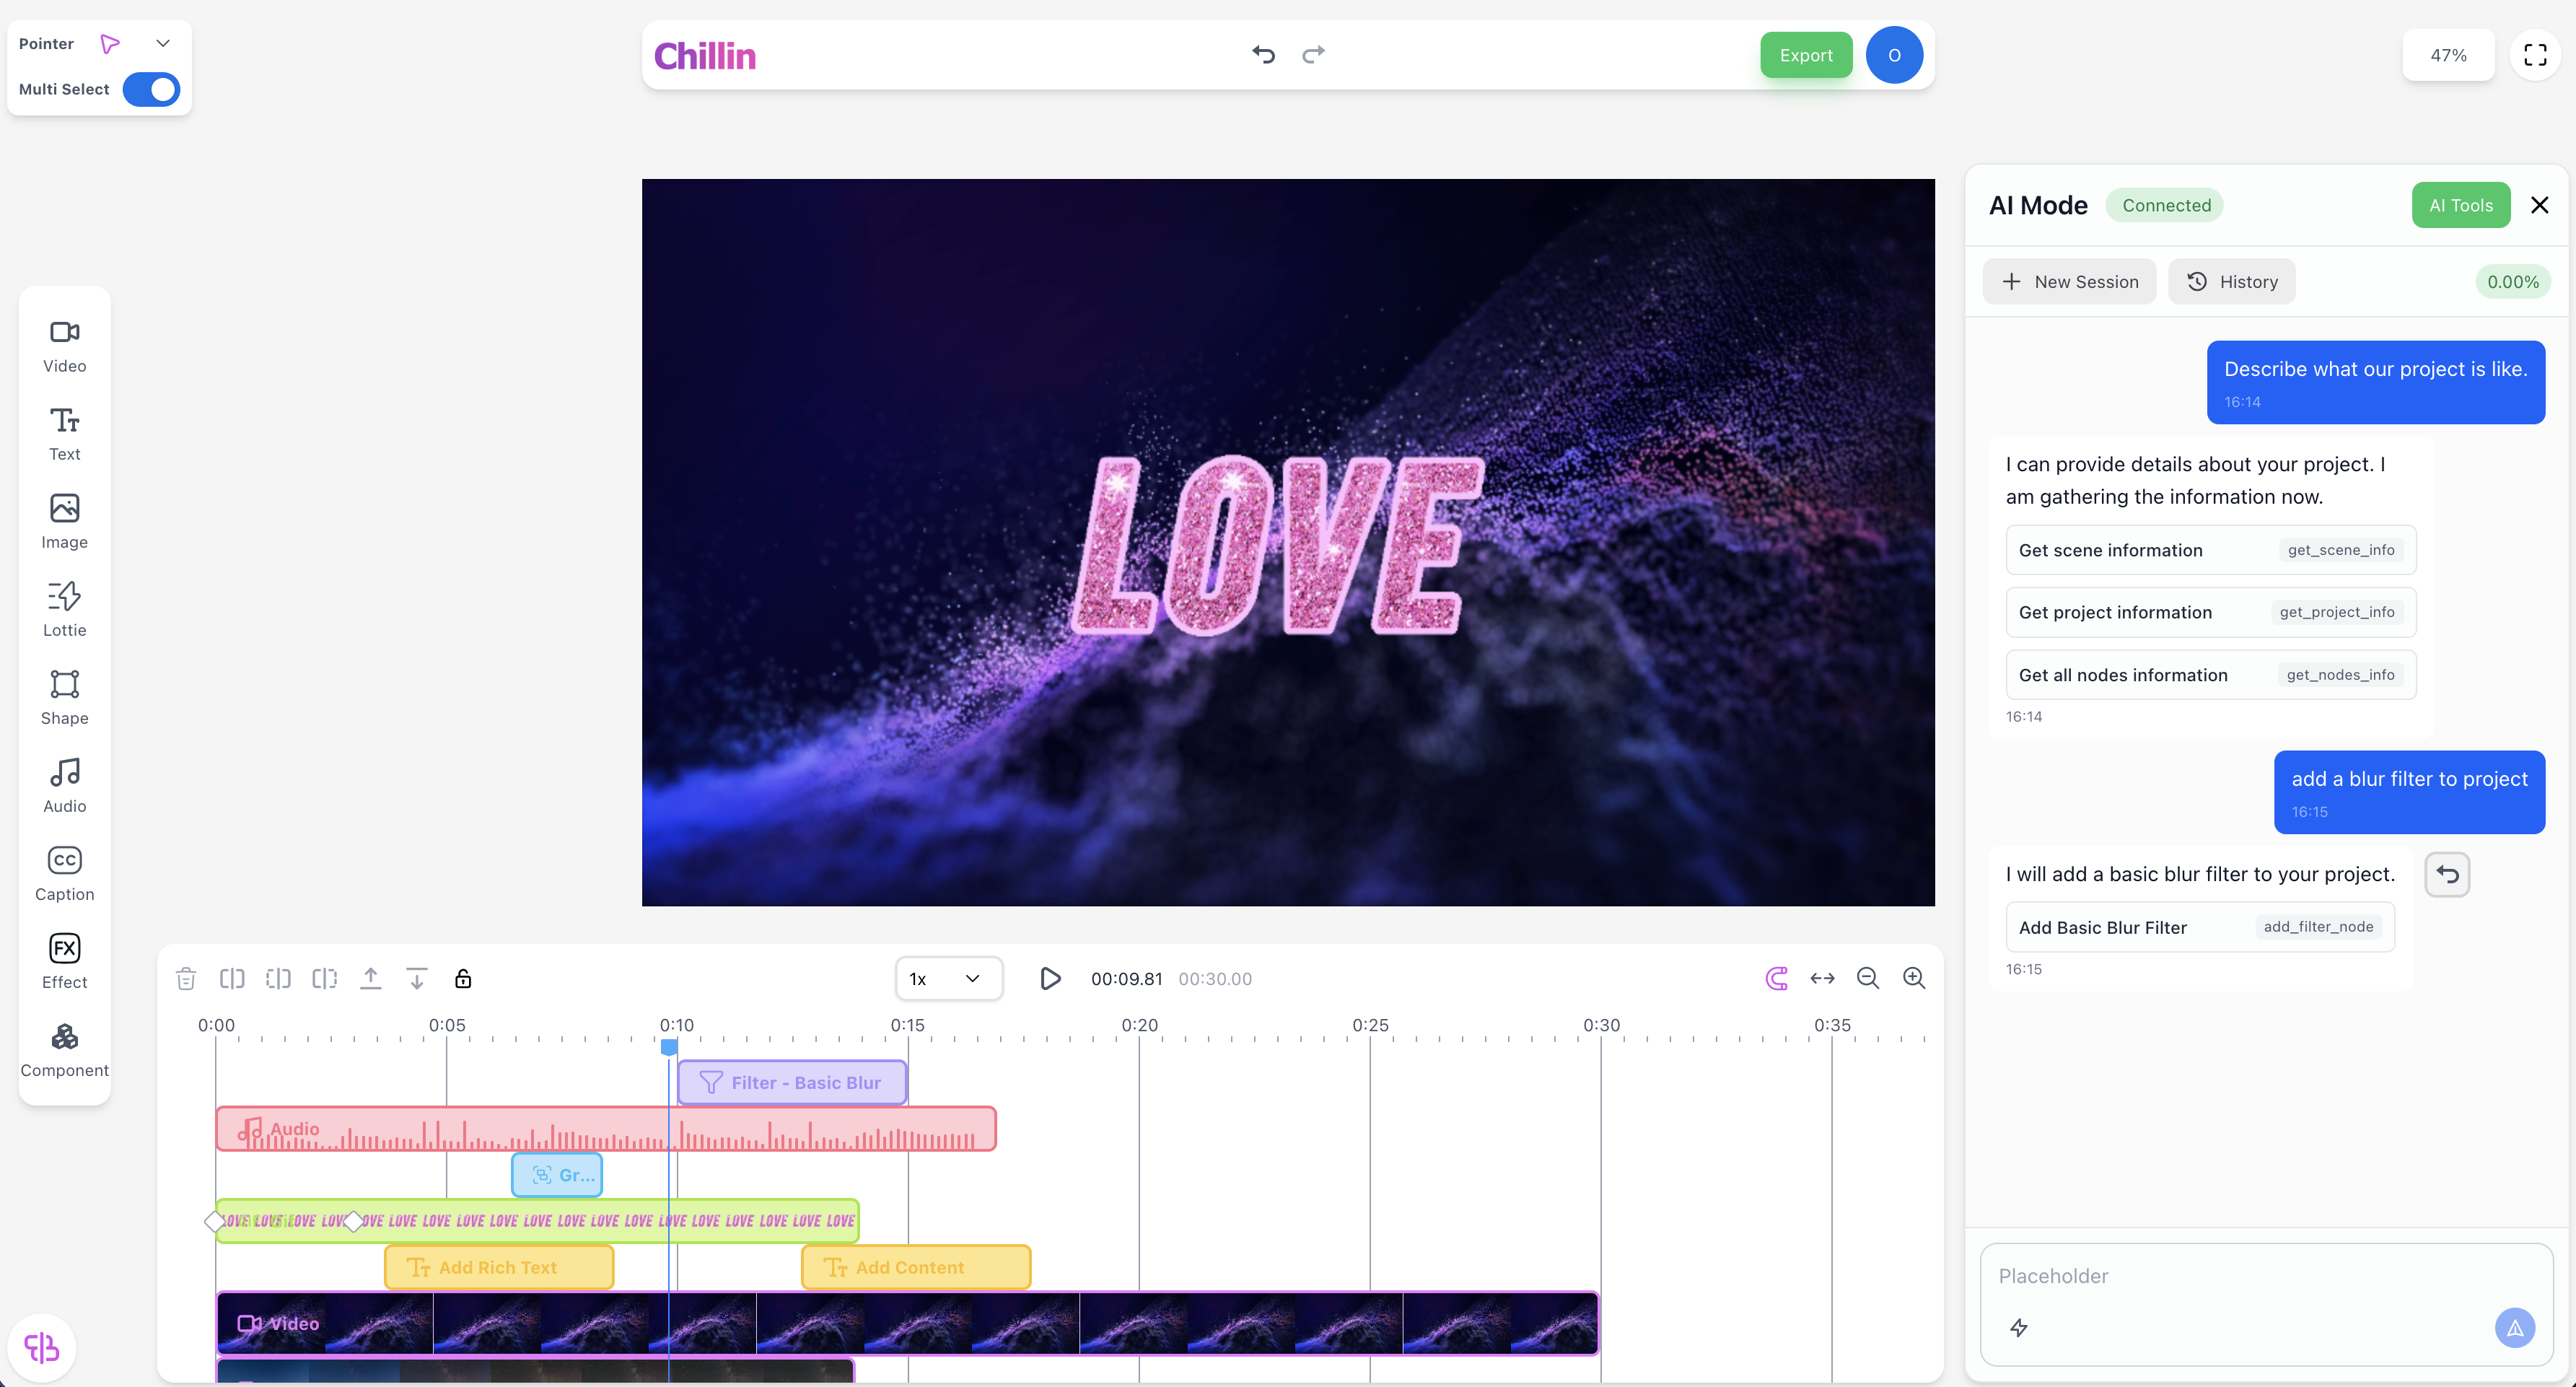
AI 대화 모드
자막과 원형 진행 바가 있는 20초 음식 비디오 생성
실행 시작:
자산 가져오기→
스마트 편집→
AI 자막→
진행 바
Processing video assets...78%
스타일 및 위치 업데이트
핵심 기능
자동 계획 및 실행
스마트 단계 분해, 언제든지 조정 가능
1
의도 이해2
계획 및 실행3
타임라인 편집다중 트랙 자동 편집
스마트 슬라이싱 및 스플라이싱, 오디오 및 비디오 자동 정렬
일괄 자동화
스크립트 기반 다중 버전 비디오 생성
MCP 확장 기능
모델 컨텍스트 프로토콜을 통해 외부 도구 및 데이터 소스를 연결하여 에이전트 기능 확장
로컬 파일 및 외부 API사용자 정의 워크플로우회원 전용